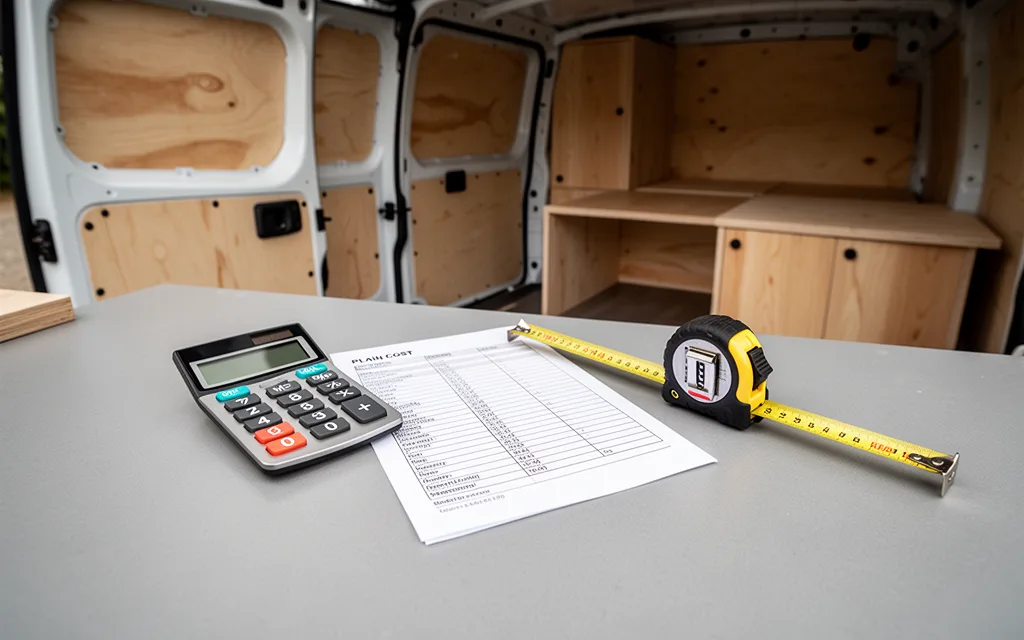
Converting a van on a budget doesn’t mean compromising on creativity or comfort. With smart planning and resourceful choices, you can transform a basic shell into a functional, stylish space without overspending. Focus on repurposing materials, prioritizing essential upgrades like insulation and electrical systems, and sourcing affordable fixtures. A budget-friendly approach often involves DIY projects, secondhand finds, and minimizing costly custom work. Whether you’re eyeing a minimalist camping rig or a cozy home-on-wheels, thoughtful decisions can keep costs low while maximizing utility. The key is balancing practicality with personal flair—proving that a van conversion doesn’t have to break the bank.
Cost-Effective Materials for Van Conversions
Choosing the right materials can make or break a van conversion’s durability and aesthetic without breaking the bank. For flooring, luxury vinyl tile (LVT) is a top pick—water-resistant, easy to clean, and available in wood or stone patterns to mimic high-end finishes. It costs about $1–$3 per square foot, far cheaper than hardwood or epoxy coatings. For walls, pegboard offers versatility, allowing you to mount tools, hooks, and storage without permanent damage. Pair it with recycled plywood or MDF for a base layer, then paint or stain for a custom look. Both materials are budget-friendly (plywood starts at $15–$25 per sheet) and easy to cut to size.
For ceilings, vinyl wall panels or corrugated plastic sheets are lightweight, moisture-resistant, and available in textured designs to hide imperfections. They install quickly with adhesive and cost around $5–$10 per square foot. If you want a more rustic vibe, used barn wood from salvage yards can add character at a fraction of new wood’s price.
Avoid costly mistakes by sourcing materials from hardware stores, online retailers like Amazon, or local salvage yards. Always prioritize materials that resist moisture and wear, especially in areas like kitchens or bathrooms. For example, epoxy resin for countertops is pricier but lasts decades with minimal maintenance. Balancing upfront costs with long-term durability ensures your van remains functional and stylish for years.
Secondhand and Salvaged Sources for Budget-Friendly Upgrades
Scouring secondhand and salvaged sources can yield high-quality van conversion materials at a fraction of retail prices. Start by exploring thrift stores, consignment shops, and online marketplaces like Facebook Marketplace or Craigslist, where people often sell gently used furniture, lighting, and decor. Salvage yards and demolition sites are goldmines for reclaimed wood, metal fixtures, and vintage hardware—ideal for custom van builds. For example, The Spruce recommends checking local hardware stores for discounted or overstock items, which can include cabinetry, shelving, and even plumbing fixtures. Flea markets and estate sales also offer unique finds, from mid-century modern chairs to industrial-style lamps, often available for under $50. When shopping, prioritize items that are durable and adaptable to van-specific needs, such as lightweight tables or foldable seating. Salvaged materials like barn wood or old doors can be repurposed into countertops or wall panels, adding character while cutting costs. Always inspect items for structural integrity and cleanability, especially for van interiors where hygiene and space efficiency matter. Networking with local van conversion communities can also reveal hidden gems—members often trade or sell surplus materials. By leveraging these sources, you can outfit your van with style and functionality without breaking the bank.
- Thrift stores: Look for compact, multi-functional furniture (e.g., ottomans with storage) that fits van dimensions.
- Salvage yards: Source reclaimed wood for custom shelving or flooring; negotiate bulk discounts if possible.
- Online forums: Platforms like Reddit’s r/vanlife or Facebook groups often have free or low-cost swaps for van-specific items.
- Hardware stores: Check clearance sections for affordable cabinetry, hinges, and drawer slides.
- Estate sales: Hunt for antique or vintage decor that adds personality without requiring new purchases.
DIY Tips to Cut Labor Costs
Installing cabinets, electrical systems, and other components in a van conversion doesn’t require professional help if you follow simple, step-by-step techniques. Start with cabinets: use pre-made units from hardware stores (like IKEA or Home Depot) and mount them with L-brackets to avoid wall damage. Measure your van’s interior precisely, then cut plywood or MDF panels to fit custom spaces. Assemble cabinets off-site, then secure them with screws and adhesive to minimize in-van labor. For electrical systems, begin with a basic setup—install a fuse box, run 12V wiring along the van’s frame, and use a wiring diagram to plan outlets and switches. Label all wires with colored tape to avoid confusion during installation. Use a multimeter to test connections before sealing panels. For flooring, opt for peel-and-stick vinyl tiles or epoxy coatings, which require minimal tools and can be applied in sections. Always plan ahead: sketch layouts and calculate material quantities using our van conversion budget spreadsheet to avoid overbuying or underestimating costs. Prioritize tasks that save the most money, like DIY plumbing (using PEX tubing and compression fittings) or insulation (spray foam or reflective barriers). Keep tools organized in a tool bag and tackle one area at a time to maintain focus. By breaking projects into smaller steps and using affordable materials, you can cut labor costs by 50% or more while maintaining quality.
Minimalist Design Strategies for Maximum Space Utilization
Maximizing storage and functionality in a van conversion starts with prioritizing vertical space and multifunctional furniture. Install overhead storage compartments or a loft bed above the main sleeping area to free up floor space for movement and work. Use sliding shelves or magnetic strips on walls to keep tools and small items accessible without cluttering surfaces. For sleeping areas, opt for a fold-out sofa bed or a mattress on a frame with built-in drawers underneath—this dual-use setup saves space while maintaining comfort.
- Modular furniture: Choose tables that convert into workbenches or dining areas, and use modular storage units that can be rearranged as needed.
- Hidden storage: Incorporate under-seat compartments, retractable drawers, or vacuum-sealed storage bags to maximize hidden space without sacrificing aesthetics.
- Lightweight materials: Use aluminum or composite panels for cabinetry and countertops—they’re durable, easy to clean, and reduce overall weight, which can lower fuel costs over time.
- Smart layout planning: Position the kitchenette near the sleeping area to minimize traffic flow, and use corner spaces for pivoting shelves or foldable desks.
When selecting materials or furniture, cross-reference our Van Conversion Cost Calculator: Budget Tips for Van Converters to ensure choices align with your financial goals. Prioritizing versatility in every design decision ensures your van remains both functional and financially sustainable.
Budget-Friendly Power and Technology Solutions
When outfitting your van with power systems, prioritize efficiency and durability without overspending. Start with solar panels: opt for polycrystalline models, which offer decent efficiency at a lower price than monocrystalline options. A 100–200W setup (e.g., Renogy or Eco-Worthy brands) can power lights, a small fridge, and charging devices for most overland trips. Pair this with a 12V charge controller to prevent battery overcharge, ensuring longevity. For batteries, lithium iron phosphate (LiFePO4) units provide better cycle life than lead-acid alternatives, though they cost more upfront. A 100Ah LiFePO4 battery (e.g., Battle Born or Eco-Worthy) can be paired with a solar setup to last weeks on end, depending on usage. If budget is tight, a 50Ah AGM battery may suffice for short trips, but plan for more frequent replacements.
For charging systems, invest in a smart inverter (e.g., Victron or Outback) that converts DC power to AC for appliances. A 1000W pure-sine-wave inverter handles most devices without voltage spikes. To cut costs, use existing van wiring where possible, but ensure it’s rated for higher amperage. Portable power stations (e.g., Goal Zero Yeti or Jackery Explorer) serve as backup during emergencies, though they’re less efficient for long-term use. Always calculate your daily energy needs (see van conversion cost uk – budget tips and estimates for guidance) to avoid overbuying. Lastly, repurpose old laptop batteries or use DIY battery banks (with proper safety precautions) to stretch your budget further. Prioritize modular systems that allow upgrades as your power needs grow.
Related reading
- van conversion budget spreadsheet
- Van Conversion Cost Calculator: Budget Tips for Van Converters
- van conversion cost uk – budget tips and estimates
- Van Conversion Cost Breakdown: Budget Tips for Converters
- affordable van conversion companies
- best camper van budget ideas
- best budget van conversion ideas
- van conversion cost australia
- van conversion cost reddit
- buy a van conversion – budget-friendly ideas
Leave a Reply