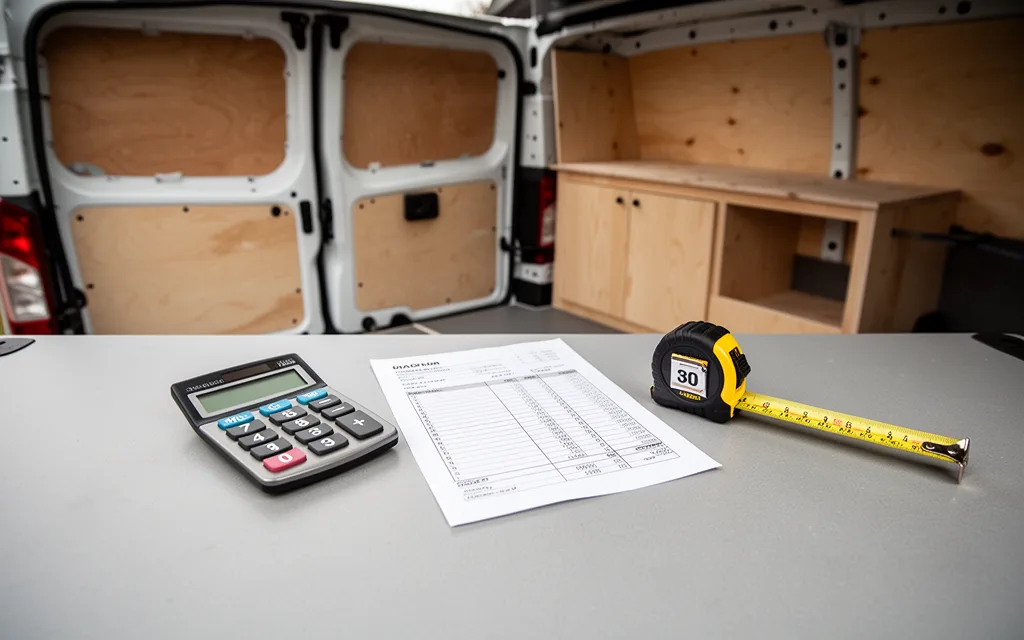
Understanding a van conversion cost breakdown is crucial for converters aiming to stay within budget without sacrificing quality. Whether you’re retrofitting a campervan or building a mobile workshop, unexpected expenses can derail even the most careful plans. This article dissects the key cost drivers—materials, labor, permits, and hidden fees—while offering actionable tips to optimize spending. From selecting affordable yet durable components to negotiating with suppliers, we’ll guide you through strategic choices that balance functionality and affordability. By the end, you’ll have a clear roadmap to estimate costs accurately and avoid common budget pitfalls, ensuring your project aligns with both your vision and financial limits.
Estimating Material Costs for Van Conversions
Material costs vary widely based on quality, durability, and customization. Prioritize essentials like insulation, flooring, and cabinetry, which directly impact comfort and longevity. Research local suppliers for competitive pricing and bulk discounts.
- Insulation: Opt for closed-cell spray foam ($1.50–$3 per square foot) for superior thermal resistance and moisture barriers, or fiberglass batts ($0.50–$1.50 per square foot) for budget-friendly bulk installations. Rigid foam boards ($0.75–$2 per square foot) balance cost and performance for walls and ceilings.
- Flooring: Vinyl plank ($2–$5 per square foot) offers water resistance and ease of cleaning, ideal for high-traffic areas. Laminate ($3–$7 per square foot) provides durability with a wood-like finish. Epoxy coatings ($5–$10 per square foot) create seamless, scratch-resistant surfaces but require professional application.
- Cabinetry: Medium-density fiberboard (MDF) ($20–$40 per linear foot) is affordable but prone to warping in humid conditions. Solid wood ($50–$100 per linear foot) ensures longevity but requires sealing. Particle board ($15–$30 per linear foot) is the cheapest option but lacks structural integrity over time.
Factor in waste allowances (10–15% for cutting errors) and labor costs if hiring professionals. Higher-quality materials may increase upfront expenses but reduce long-term maintenance needs. Compare samples in person to assess durability and aesthetics before finalizing purchases.
Labor Cost Analysis for Professional Conversions
Labor expenses are the largest single cost in most van conversions, often accounting for 40–60% of total project budgets. Hourly rates vary widely based on expertise: entry-level installers typically charge $30–$50/hour, while master builders with specialized skills (e.g., electrical systems, custom carpentry) may demand $75–$120/hour. Project complexity further inflates costs—custom builds with high-end finishes, HVAC systems, or structural modifications can double labor time compared to basic conversions. For example, a 350-hour project for a luxury van may cost $28,000–$42,000 in labor alone, assuming an average rate of $80/hour.
- Regional Variations: Labor rates in urban areas (e.g., California, New York) are 20–30% higher than in rural regions due to higher living costs and competition for skilled workers. BLS data shows installation workers in the West earn 15% more than the national average.
- Project Complexity: Custom layouts, plumbing, and off-grid systems require specialized labor, adding 20–40% to base costs. Modular conversions using pre-fabricated components reduce labor time by 30–50%.
- Overhead Considerations: Contractors often factor in equipment rental, insurance, and waste disposal into hourly rates. Negotiating block rates for multi-van projects can lower per-hour costs by 10–20%.
Converters should also factor in regional labor laws—some states mandate overtime pay after 40 hours/week, which can increase costs for extended projects. Partnering with local apprentices or using subcontractors for niche tasks (e.g., welding) can help manage expenses without sacrificing quality.
DIY vs. Professional Conversion: Cost Comparison
Upfront costs for DIY conversions typically range from $5,000–$15,000, depending on materials and complexity, while professional conversions start at $20,000–$50,000. DIY saves on labor but requires purchasing tools, permits, and high-quality materials upfront. Professionals bundle labor, permits, and warranties into their fees, reducing hidden costs later. For example, a DIY electrical system may cost $1,500 in materials but risk costly rework if improperly installed, whereas a pro’s work includes guaranteed compliance with codes.
- Tooling & Learning Curve: DIYers spend 10–20% of their budget on tools and tutorials, while pros use existing equipment, avoiding this expense.
- Material Waste: DIY projects often waste 15–30% of materials due to errors, whereas pros minimize waste through precise planning.
- Long-Term Maintenance: Poorly executed DIY work (e.g., leaky roofs, unstable flooring) can cost $500–$2,000 in repairs annually. Professional builds, however, reduce maintenance needs by 40–60% due to higher-quality craftsmanship.
- Resale Value: Professionally converted vans retain 15–25% more value than DIY versions, as buyers perceive them as safer and more reliable.
For budget-focused converters, van conversion ideas on a budget can help maximize DIY savings without sacrificing critical safety features. However, prioritize professional help for structural modifications, electrical systems, or HVAC to avoid long-term liabilities.
Hidden Expenses in Van Conversion Projects
Van conversion projects often overlook costs that aren’t immediately visible during initial planning. Permits, for example, are frequently neglected. Local regulations may require inspections or fees for electrical, plumbing, or structural modifications, especially if your van will be used for commercial purposes. Failing to secure these upfront can lead to fines or project delays. Similarly, waste disposal is a critical but underbudgeted expense. Removing old materials—such as flooring, insulation, or hazardous substances like lead paint—requires proper disposal methods, which can be costly if not handled through licensed contractors. Many converters also underestimate the risk of unexpected repairs. During demolition or installation, hidden issues like rot, electrical faults, or insulation damage may surface, requiring unplanned labor and materials. These surprises can quickly inflate costs if not accounted for in contingency funds. For example, a corroded water pipe behind a wall might require full replacement, adding hundreds of dollars to your budget. To avoid these pitfalls, allocate 10–15% of your total project budget for contingencies and research local permit requirements before breaking ground. For a more accurate estimate of these hidden costs, consider using our Van Conversion Cost Calculator: Budget Tips for Van Converters, which includes fields for permits, waste management, and emergency repairs.
Prioritizing Features by Budget Constraints
When converting a van, allocating funds effectively requires balancing necessity and flexibility. Start by identifying core systems that enable your van’s primary function—whether it’s sleeping, working, or traveling. For example, if your budget is tight, prioritize electrical systems over luxury upgrades. A basic setup (12V lighting, a small battery, and a portable inverter) costs ~$300–$500, while adding solar panels or a full battery bank can push costs to $1,500–$3,000. Focus on reliable, low-maintenance components first, and upgrade later.
- Electrical systems: Allocate 30–50% of your budget to power. Begin with essential items: deep-cycle batteries, a voltage regulator, and a compact inverter. Avoid overcomplicating with high-capacity systems unless your van requires full-time power (e.g., for refrigeration or work tools).
- Plumbing: If you plan to live in the van long-term, invest in a water pump, freshwater tank, and a composting toilet. These cost ~$800–$1,200. Skip full greywater systems initially; use portable containers or campgrounds for waste disposal to save money.
- Seating and layout: Opt for lightweight, modular furniture that serves multiple purposes (e.g., fold-out tables, convertible sofas). Avoid permanent fixtures like cabinetry unless your budget allows. Use secondhand markets or DIY builds to cut costs by 40–60%.
- Cost-saving hacks: Source used components (e.g., batteries, solar panels) from online marketplaces or van conversion forums. Prioritize features that reduce long-term expenses, like energy-efficient LED lighting or a durable, low-maintenance roof tent.
Leave a Reply