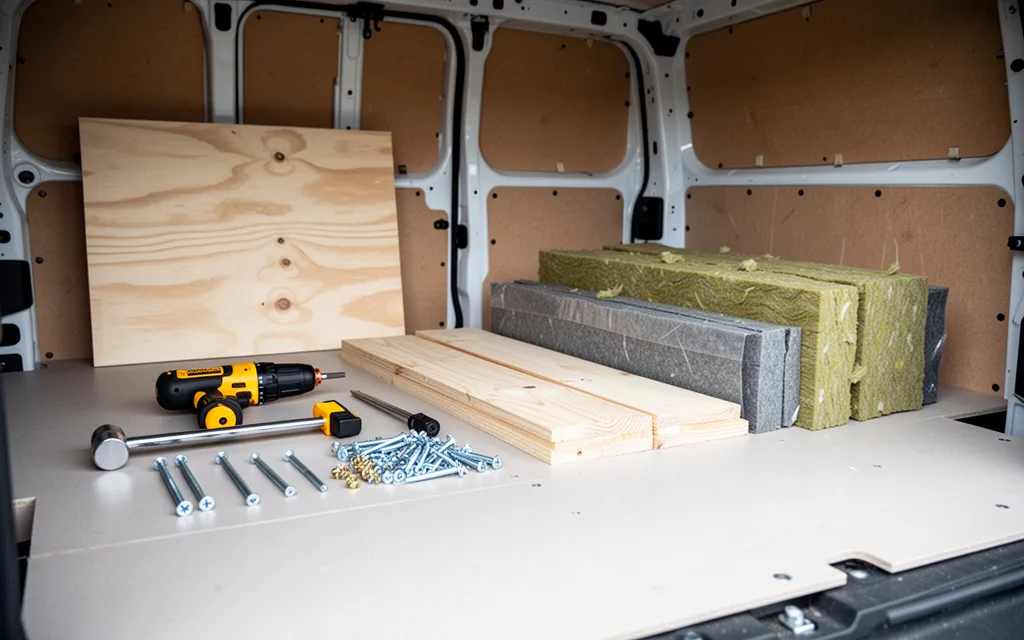
If you’re diving into van life on a budget, a basic van conversion kit is your first step toward transforming your vehicle into a functional home without breaking the bank. These kits typically include essentials like insulation, flooring, and simple electrical setups, prioritizing durability over luxury. By focusing on core needs—sleeping, storage, and power—you can avoid costly upgrades while ensuring your van remains comfortable and practical. Look for kits that offer modular components, allowing you to expand later as your needs evolve. With careful planning and a minimalist approach, a basic van conversion kit can turn your project into a reality without sacrificing quality or value.
At
Understanding the Core Components of a Basic Van Conversion Kit
A basic van conversion kit prioritizes functionality and cost-efficiency, focusing on essentials that ensure comfort and usability without unnecessary upgrades. Key components typically include insulation, flooring, and a rudimentary electrical system—each designed to meet minimal requirements for living space and safety.
- Insulation: Entry-level kits often provide foam board or reflective insulation panels for walls and ceilings. These materials offer moderate thermal resistance (R-value around 3–5) and are easy to install, though they lack the durability of higher-end options like spray foam. Look for kits that include vapor barriers to prevent condensation in damp climates.
- Flooring: Budget kits usually feature vinyl or laminate flooring with a non-slip surface. These are chosen for their affordability and ease of cleaning, though they may lack cushioning or sound-dampening properties. Some kits include adhesive and underlayment to simplify installation over existing van flooring.
- Electrical Systems: Basic wiring includes 12V lighting, a fuse box, and a few outlets for small devices. Kits may also provide a battery connection point and a switch to toggle between 12V and shore power. Note that these systems lack surge protection or advanced features like solar integration, which require separate upgrades.
Entry-level kits rarely include windows, doors, or cabinetry, as these are often considered optional upgrades. Focus on kits that emphasize compatibility with your van’s existing structure to avoid costly modifications. Always verify that components meet local electrical codes and are rated for outdoor use.
Cost-Effective Material Choices for Budget-Friendly Conversions
Choosing the right materials is critical for balancing affordability and durability in a van conversion. Opt for **plywood** (3/4-inch thickness) for cabinetry and flooring—it’s resistant to warping and available in budget-friendly grades at hardware stores like Lowe’s or Home Depot. For insulation, **recycled denim insulation** offers excellent thermal performance at a fraction of the cost of spray foam, while also being eco-friendly. Use **aluminum framing** for structural supports; it’s lightweight, corrosion-resistant, and often cheaper than steel when purchased in bulk.
- Composite panels (e.g., Corian or laminate) are ideal for countertops and shower areas. They’re scratch-resistant, easy to clean, and available in budget ranges at retailers like IKEA or Amazon.
- Secondhand materials from salvage yards or online marketplaces (e.g., Craigslist, Facebook Marketplace) can cut costs significantly. Look for used appliances, cabinetry, or even van-specific components like awnings or solar panels.
- Galvanized steel is a durable, low-maintenance option for exterior repairs or custom builds. It’s often priced competitively when bought in sheets from industrial suppliers.
- DIY-friendly materials like 2×4 lumber and drywall allow customization without contractor fees. Use budget-friendly joint compound and paint for finishing touches.
Always prioritize materials with long-term durability to avoid frequent replacements. For sourcing tips and cost-saving strategies, VanLife’s guide to budget conversions provides actionable insights tailored to converters on a tight budget.
Step-by-Step Guide to Assembling Your Conversion Kit
Begin by clearing the van’s interior and securing the floor frame using 2x4s and screws, ensuring it’s level. Next, attach the subfloor (plywood) to the frame, sealing seams with silicone to prevent moisture. For electrical setup, mount a battery and fuse box near the rear wall, then run 12V wiring to outlets and LED lights—use a basic wiring diagram from simple van conversion ideas to avoid overcomplicating connections. Install a simple insulation layer (like foam board) between the floor and subfloor for warmth, then add a thin layer of carpet or vinyl for comfort. Mount cabinets or shelves using brackets and screws, prioritizing lightweight materials to keep costs low. Finally, secure the ceiling with drywall or marine-grade panels, sealing edges with caulk for durability. Test all electrical components before finalizing. For tools, a drill, screwdriver, and basic measuring tape suffice—avoid specialty equipment to stay budget-friendly. If unsure about wiring, refer to simple van conversion ideas for low-risk, DIY-compatible electrical layouts. Always wear safety goggles and gloves during installation. This method focuses on functional, non-permanent setups, allowing adjustments later without major overhauls.
Maximizing Space with Smart Layout Planning
Optimizing interior design on a budget starts with prioritizing flexibility and multifunctionality. Begin by mapping your van’s footprint and identifying zones for sleeping, cooking, and storage. Use affordable, lightweight materials like PVC pipes or tension rods to create vertical storage solutions—think hanging shelves or overhead bins that utilize unused ceiling space. Avoid permanent fixtures; instead, opt for modular furniture that can be rearranged as needs change. For example, a foldable table that doubles as a workbench or a bed with built-in drawers can cut costs while maximizing utility.
- Use the floor strategically: Install low-profile drawers under the bed or along the van’s sides for storing seasonal items or tools. These can be sourced from secondhand stores or DIY kits.
- Repurpose existing structures: Mount cabinets or shelves directly onto the van’s frame rather than adding new walls. This approach reduces material costs and is covered in detail in our simple camper van conversion kit guide.
- Employ sliding systems: Install sliding trays or pull-out bins in narrow spaces (e.g., between the driver’s seat and dashboard) to access supplies without sacrificing floor area.
- Minimize clutter with smart storage: Use vacuum-sealed bags for clothing and stackable containers for kitchenware. Label everything to streamline organization.
By focusing on adaptable, low-cost solutions, you can create a functional layout that grows with your needs without breaking the bank.
Avoiding Common Pitfalls in DIY Van Conversion Projects
Underestimating the complexity of electrical systems is a major misstep. Many converters skip detailed planning for wiring, outlets, and battery capacity, leading to costly rework. Always map out power needs (e.g., fridge, lights, USB ports) and invest in a quality battery management system to avoid overloading circuits. Another frequent error is neglecting insulation and weatherproofing. Cheap materials or skipping vapor barriers can cause condensation, mold, and heat loss, increasing long-term maintenance costs. Use affordable but durable options like closed-cell foam and silicone sealants to protect against moisture and temperature extremes.
- Overlooking weight distribution: Improperly balancing cargo and furniture can compromise handling and safety. Use a vehicle scale to measure load distribution and adjust accordingly—keep heavy items low and centered.
- Skipping temporary setups: Installing permanent fixtures (e.g., cabinets, sinks) before testing layouts wastes money. Build mock-ups with cardboard or 3D-printed models to refine designs before committing to materials.
- Ignoring local regulations: Some areas require permits for van conversions, especially if you plan to live full-time. Research zoning laws and RV codes to avoid legal issues later.
- Underestimating time: A basic kit might take 200+ hours to complete. Create a realistic timeline and prioritize tasks to avoid burnout. Allocate 10–15% of your budget for unexpected delays.
Leave a Reply