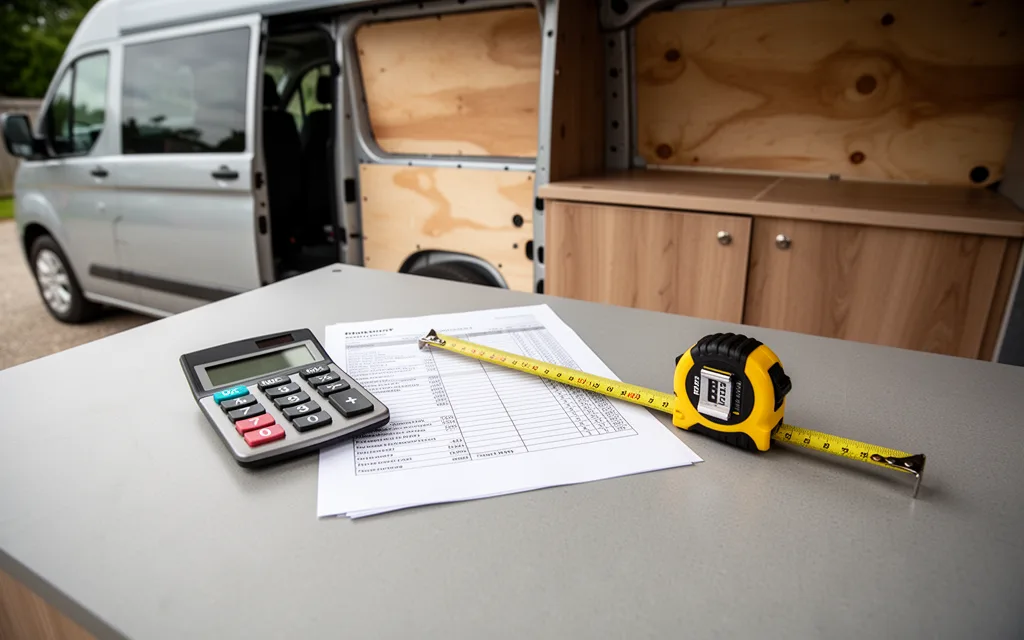
For budget-conscious van converters, the best budget van conversion starts with smart planning and resourcefulness. Whether you’re repurposing old materials, sourcing secondhand fixtures, or prioritizing essential upgrades, every dollar saved can be reinvested into durability or comfort. Focus on modular designs that minimize waste, opt for affordable yet sturdy flooring, and leverage free online tutorials to cut labor costs. By balancing practicality with creativity, you can transform your van into a functional space without overspending—proving that a low-budget conversion doesn’t mean compromising on quality or style.
Maximizing Space with Affordable Storage Solutions
Optimize van space without splurging by repurposing materials you already own. For example, cut leftover lumber or pallets into vertical shelves to store camping gear, tools, or pantry items—this avoids buying expensive van-specific storage units. Use a circular saw and basic brackets to assemble shelves in under an hour. For collapsible furniture, invest in foldable tables or a Murphy bed with a built-in storage compartment; these can be sourced from thrift stores or budget retailers like IKEA for under $200. A foldable dining table that tucks under a counter when not in use saves 50% of floor space during travel. Modular layouts are key: install adjustable dividers made from leftover wood or foam boards to create customizable zones. A bench with hidden drawers beneath can double as seating and storage, while magnetic strips on walls hold utensils or small tools. Prioritize lightweight, stackable containers for items like clothing or toiletries—these can be stored on overhead racks or under the van’s bed. Lastly, repurpose the area under the van’s seats by adding removable storage bins with Velcro closures; this keeps essentials like first-aid kits or spare tires accessible without cluttering the main living area. By focusing on repurposed materials and multi-functional designs, you can create a clutter-free, adaptable space that grows with your needs.
- Build shelves from salvaged pallets or leftover lumber to save on costs.
- Use foldable furniture (e.g., tables, beds) that collapses to free up floor space.
- Install adjustable dividers and magnetic strips for flexible, wall-mounted storage.
- Opt for stackable, lightweight bins for under-seat or overhead storage.
- Repurpose van seating areas with removable bins or drawers for hidden storage.
.DIY Electrical Upgrades on a Budget
Upgrading your van’s electrical system doesn’t require expensive tools or professional help. Start with LED strip lighting for ambient illumination—opt for 12V strips ($10–$20/linear foot) and a waterproof power distribution box ($15–$30) to avoid short circuits. Mount the strips under cabinets or along ceiling seams using 3M adhesive, and connect them to your van’s battery via a fuse and inline relay ($5–$10). For USB ports, repurpose a 12V-to-USB adapter ($10–$20) from a car phone charger, securing it to a dash panel with Velcro. To add 120V outlets, use a portable power station ($150–$300) with built-in outlets, or install a 20-amp circuit breaker ($20–$40) and outlet box ($10–$25) near your sleeping area. Always use marine-grade wiring ($0.50–$1.50/foot) and waterproof connectors ($5–$10/set) to prevent moisture damage. Test all connections with a multimeter ($20–$50) before powering on. For step-by-step wiring diagrams, refer to this Instructables guide, which details low-cost methods for safe, functional setups. Prioritize simplicity: avoid overcomplicating circuits, and label wires with colored tape for future troubleshooting. These upgrades cost under $200 total and can be completed in a weekend with basic tools like a screwdriver and wire stripper.
Repurposing Materials for Interior Design
Transform your van’s interior with reclaimed wood, thrifted decor, and upcycled finds without breaking the bank. Start by sourcing reclaimed wood from local demolition sites, pallets, or hardware stores—these materials are often free or low-cost and add rustic charm. Use them for custom shelving, flooring, or table tops; sanding and sealing the wood ensures durability. For textiles, thrift stores are goldmines: hunt for vintage curtains, patterned rugs, or mismatched chairs that inject personality while keeping costs minimal.
- Upcycle crates: Convert wooden crates into storage units or wall-mounted organizers. Paint them in bold colors or distress them for a farmhouse look.
- Repurpose old windows: Frame a salvaged window pane as a pendant light or use it as a sunroom-style panel for natural light.
- Thrifted hardware: Reuse drawer pulls, knobs, or hinges from old furniture to add character to cabinets or storage bins.
- Bike parts: Turn an old bicycle wheel into a wall art piece or use spokes as decorative accents.
These strategies not only reduce waste but also let you customize your space uniquely. For more budget-friendly ideas, check out van conversion ideas on a budget to explore cost-effective sourcing and DIY techniques.
Low-Cost Ventilation and Climate Control
Effective ventilation and climate control are critical for comfort and health in a van conversion, but you don’t need expensive systems. Start with passive airflow: install mesh window screens or repurpose old windows as vent covers to allow cross-ventilation. For temperature regulation, use reflective insulation (e.g., bubble wrap or foil-backed foam board) in walls and ceilings to reduce heat gain in summer and retain warmth in winter. Seal gaps around doors and windows with weatherstripping or silicone caulk to prevent drafts.
- DIY ducting: Use flexible HVAC ducting (available at hardware stores for under $10/ft) and duct tape to route airflow from roof vents to floor registers. Pair with a $20 solar-powered fan for passive cooling.
- Insulate with recycled materials: Stuff leftover foam insulation, old sweaters, or denim scraps into wall cavities for low-cost thermal barriers. These materials are often free or cheap from construction sites.
- Thermal curtains: Hang thick, secondhand curtains over windows to block sunlight and reduce interior temperatures by up to 15°F (8°C).
- Hydration system: Place water-filled containers (e.g., milk jugs) near heat sources like ovens or radiators to absorb excess warmth and release it gradually.
For budget tracking, refer to our van conversion budget spreadsheet to allocate funds for insulation materials, fans, and sealing supplies. Prioritize high-impact upgrades like window insulation and ducting before investing in complex HVAC systems. Even small adjustments—like adding a $5 window vent or sealing gaps—can drastically improve climate control without breaking the bank.
Essential Budget-Friendly Tools and Resources
Begin with affordable, durable tools that minimize waste and maximize efficiency. A laser level (Amazon) ensures precise layout work, while a cordless drill (Home Depot) handles most assembly tasks. Invest in a multi-tool (Ryobi) for cutting, sanding, and drilling—versatile and cost-effective. For measuring, a 25-foot tape measure (Lowes) and a smartphone app like Measure by Google (iOS/Android) provide accurate readings without extra costs.
For tutorials, YouTube channels like VanLife and The Van Man offer free, step-by-step guides on electrical setups, insulation, and cabinetry. Websites like VanConversion.com and DIYVanLife host detailed articles on budget-friendly materials and techniques.
Join forums like r/vanlife and r/vandwellers to ask questions and share progress. Facebook groups such as Van Conversion Tips and Budget Van Builds connect converters globally, offering free advice on sourcing used materials and avoiding common pitfalls. Prioritize tools with long-term value, and leverage free community knowledge to cut costs without sacrificing quality.
Leave a Reply